
What is Site Kit?
You might be like me and wondering what Google Site Kit is. Like many Google products, there seem to be so many cool products out there that no one knows about.
Site Kit is no exception.
Site Kit brings many of the Google advertising and analytics tools inside of WordPress giving you actionable data at your fingertips.
UPDATE: This issue has been resolbed by the Site Kit team. The activation process should work as expected. Read more here.
How to connect Site Kit to Google.
At the time of testing this however there were a number of issues, like being able to install and authenticate it.
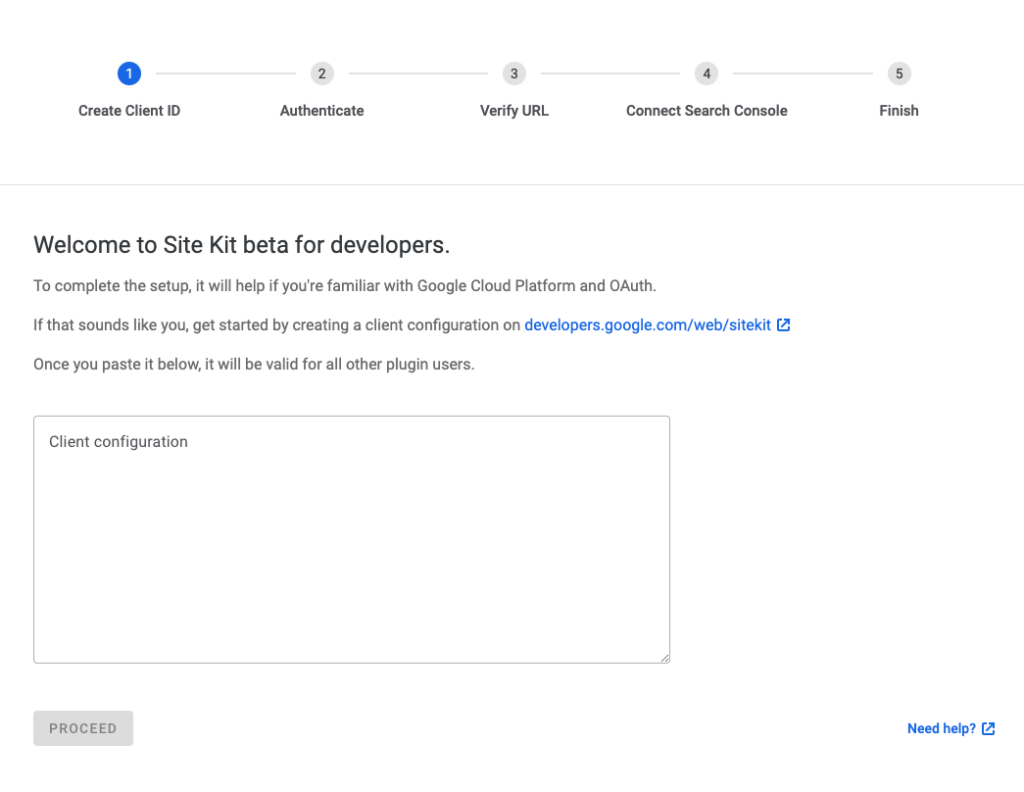
Clicking on the link you will be taken to Google Clouds Site Kit interface, Normally this would give you the required configuration code to move on except that you will only end up with an OAuth key.
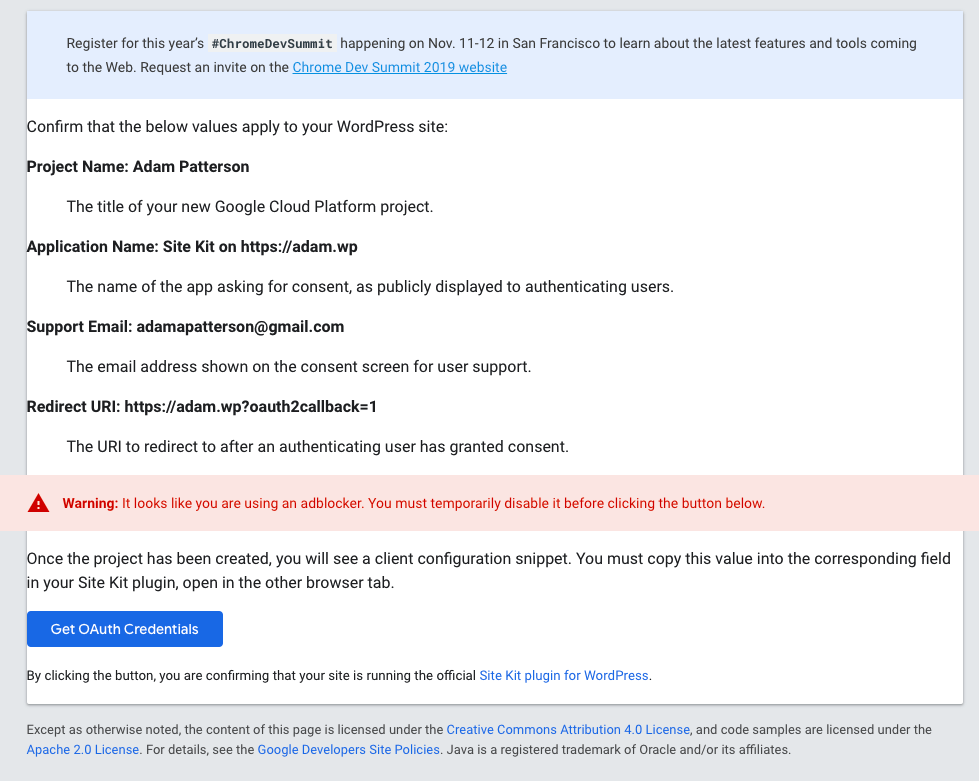
In order to properly authenticate your WordPress site with Google, you will have to manually create it.
Creating a Google Cloud Project
Head over to Google Cloud and start off by creating a new project if you don’t already have one.
Make sure to make note of your Project ID as you will need this later on.

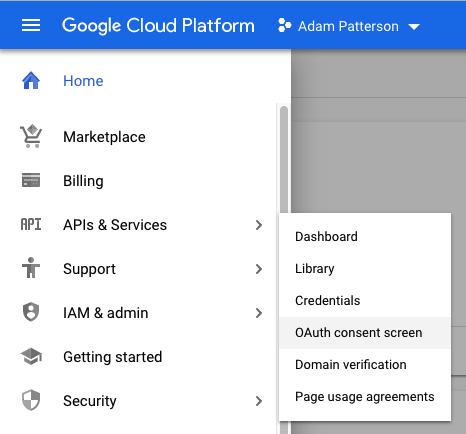
update OAuth Consent
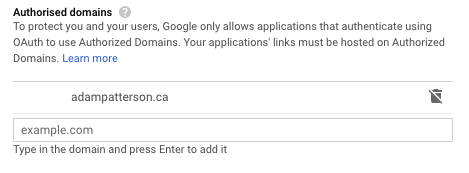
Next head over to the OAuth consent screen, this is where you will need to add your Authorization Domains. It should be noted that you can not use Local Domains here. If you are looking to test this locally before using it in production then you can use something like Ngrok to temporarily proxy your local domain for you.
Create Credentials using OAuth
Next up, add your credentials, Click Create Credentials and choose OAuth Client ID
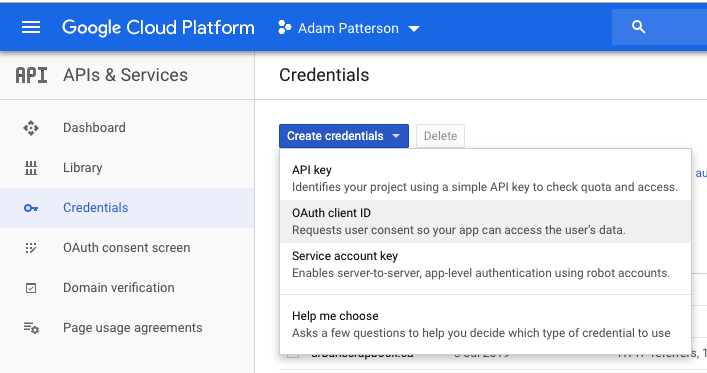
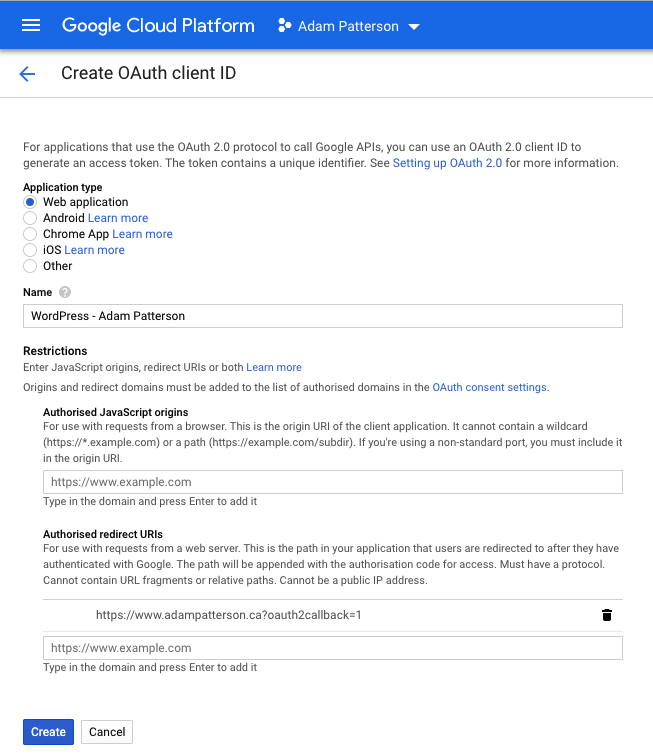
We will be creating a Web application, Give this a descriptive name.
Next, add the callback URL which will be ?oauth2callback=1
Client ID and Client Secret
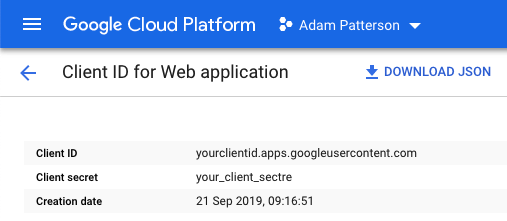
Once created you can now see your Client ID and Client Secret.
Below is the JSON object that Google Site Kit should have generated for you off the start 😉
Final Configuration code
{
  "web": {
    "client_id": "your_client_id",
    "project_id": "your_project_id",
    "auth_url": "https://accounts.google.com/o/auth2/auth",
    "token_url": "https://oauth2.googleapis.com/token",
    "auth_provider_x509_cert_url": "https://www.googleapis.com/oauth2/v1/certs",
    "client_secret": "your_client_secret",
    "redirect_uris": [
      "https://www.your_domain.com?oauth2callback=1"
    ]
  }
}
Pro-Tip
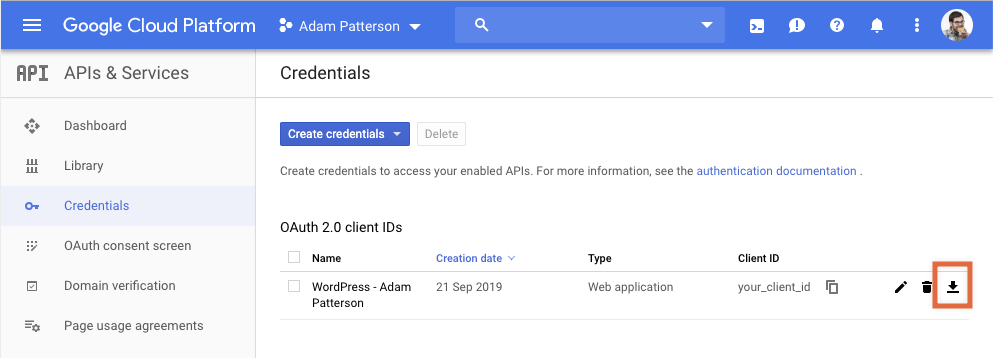
Once you have correctly entered all of your credentials, click on Credentials and on the far left under your Client ID’s you will see a little download arrow. Copy the contents to your Site Kit page and you are off to the races!
Done 👍
Now that Site Kit has connected to Google, you can begin to authenticate your app and connect different Google services like Adwords, Analytics, TagManager, PageSpeed Insights, and Search Console to name a few.
